Setting Up An IoT SSH Server On Ubuntu: Your Ultimate Guide
Are you ready to dive into the world of IoT and SSH servers on Ubuntu? In this guide, we’re going to break down everything you need to know about setting up an IoT SSH server on Ubuntu. Whether you’re a tech enthusiast or someone looking to enhance their home automation setup, this article has got you covered.
Let’s face it, the Internet of Things (IoT) is no longer just a buzzword. It’s a reality that’s shaping how we interact with technology. But here’s the deal—managing IoT devices remotely can be tricky without the right tools. That’s where SSH (Secure Shell) comes in. SSH is like a superhero for secure communication between devices, and Ubuntu is the perfect platform to host your IoT SSH server.
Now, before you start thinking this is going to be a complicated process, let me tell you—it’s actually pretty straightforward. All you need is a bit of patience and this guide. So, grab your coffee, and let’s get started on this IoT SSH server adventure.
Read also:Serps Trends The Ultimate Guide To Mastering Google Search Engine Results
What is an IoT SSH Server on Ubuntu?
Alright, let’s clear the air first. An IoT SSH server on Ubuntu is basically a setup that allows you to securely manage your IoT devices through SSH. Think of it as a remote control for your gadgets, but way more secure. Ubuntu, being one of the most stable and secure Linux distributions, makes it an ideal choice for hosting your IoT SSH server.
SSH, short for Secure Shell, is a protocol that lets you connect to a remote computer or device securely. It encrypts all the data you send and receive, making sure no one can snoop on your activities. For IoT enthusiasts, this means you can monitor and control your devices from anywhere in the world without worrying about security breaches.
Why Use Ubuntu for Your IoT SSH Server?
Ubuntu isn’t just any Linux distribution; it’s like the golden child of the open-source community. Here’s why it’s the perfect platform for your IoT SSH server:
- **Stability**: Ubuntu is known for its rock-solid stability. This means your IoT SSH server will run smoothly without unexpected crashes.
- **Security**: With regular security updates and a vast community of developers, Ubuntu ensures your server stays protected against potential threats.
- **Ease of Use**: Even if you’re new to Linux, Ubuntu’s user-friendly interface makes it easy to set up and manage your IoT SSH server.
- **Community Support**: You’re never alone with Ubuntu. The community is always there to help you out if you run into any issues.
Setting Up Your IoT SSH Server on Ubuntu
Ready to roll up your sleeves and get started? Here’s a step-by-step guide to setting up your IoT SSH server on Ubuntu:
Step 1: Install Ubuntu on Your Device
First things first, you’ll need to install Ubuntu on the device you want to use as your IoT SSH server. You can download the latest version of Ubuntu from the official website. Follow the installation instructions carefully, and you’ll have Ubuntu up and running in no time.
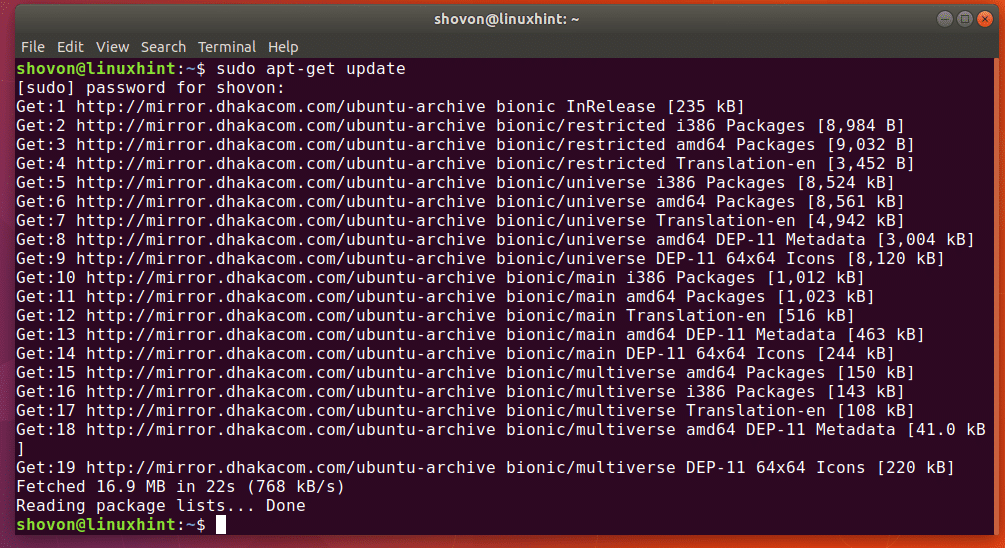
Step 2: Update Your System
Before installing anything else, it’s always a good idea to update your system. Open your terminal and run the following commands:
Read also:Crackstreams Sports Your Ultimate Guide To Live Sports Streaming
sudo apt update && sudo apt upgrade
This ensures that all your packages are up to date, giving you a solid foundation for your IoT SSH server.
Step 3: Install OpenSSH Server
Now, it’s time to install the OpenSSH server. This is the software that allows you to connect to your IoT devices securely. Run the following command in your terminal:
sudo apt install openssh-server
Once the installation is complete, you can check if the SSH service is running by typing:
sudo systemctl status ssh
Configuring Your IoT SSH Server
With the OpenSSH server installed, it’s time to configure it to suit your needs. Here’s how you can do it:
Step 1: Edit the SSH Configuration File
The SSH configuration file is located at /etc/ssh/sshd_config. Open it using your favorite text editor, such as nano:
sudo nano /etc/ssh/sshd_config
Here are a few settings you might want to tweak:
- **Port**: You can change the default SSH port (22) to something else for added security.
- **PermitRootLogin**: Set this to "no" to disable root login, enhancing security.
- **PasswordAuthentication**: Set this to "no" if you plan to use SSH keys for authentication.
After making your changes, save the file and restart the SSH service:
sudo systemctl restart ssh
Step 2: Set Up SSH Keys
Using SSH keys instead of passwords is a much more secure way to authenticate. Here’s how you can generate and set up SSH keys:
ssh-keygen -t rsa -b 4096
Follow the prompts to create your key pair. Then, copy the public key to your IoT device:
ssh-copy-id user@iot-device-ip
Connecting to Your IoT Devices
Now that your IoT SSH server is set up and configured, it’s time to connect to your IoT devices. Here’s how you can do it:
ssh user@iot-device-ip
If you’ve set up SSH keys, you won’t need to enter a password. Instead, the connection will be established using your private key.
Tips for Secure Connections
Here are a few tips to ensure your IoT SSH connections remain secure:
- **Use Strong Passwords**: If you’re using password authentication, make sure your passwords are strong and unique.
- **Regularly Update**: Keep your system and SSH server updated to protect against vulnerabilities.
- **Monitor Logs**: Regularly check your SSH logs for any suspicious activity.
Managing Multiple IoT Devices
Managing multiple IoT devices can get messy if you don’t have the right tools. Here’s how you can streamline the process:
Step 1: Use SSH Config File
Create an SSH config file to store connection details for all your IoT devices:
sudo nano ~/.ssh/config
Add the following details for each device:
Host device1
HostName device1-ip
User username
Port port-number
Step 2: Automate Tasks with Scripts
Automating repetitive tasks can save you a lot of time. Write scripts to automate tasks like checking device status, updating software, or rebooting devices.
Best Practices for IoT SSH Servers
Here are some best practices to keep in mind when setting up and managing your IoT SSH server:
- **Limit Access**: Only allow trusted devices and users to connect to your IoT SSH server.
- **Use Firewalls**: Configure firewalls to block unauthorized access.
- **Regular Backups**: Keep regular backups of your server configuration and data.
Common Issues and Troubleshooting
Even with the best setup, issues can arise. Here are some common problems and how to fix them:
Issue 1: Unable to Connect
Check if the SSH service is running and ensure that the firewall isn’t blocking the connection.
Issue 2: Permission Denied
Make sure you’re using the correct username and that the SSH keys are properly configured.
Conclusion
Setting up an IoT SSH server on Ubuntu might seem daunting at first, but with this guide, you’ve got all the tools you need to get started. Remember, the key to a successful IoT SSH server is security, stability, and proper management.
Now that you’ve learned the ropes, it’s time to take action. Start setting up your IoT SSH server today and take control of your smart devices like a pro. Don’t forget to share your experience in the comments below and check out our other articles for more tech tips and tricks.
Table of Contents
- Setting Up an IoT SSH Server on Ubuntu: Your Ultimate Guide
- What is an IoT SSH Server on Ubuntu?
- Why Use Ubuntu for Your IoT SSH Server?
- Setting Up Your IoT SSH Server on Ubuntu
- Step 1: Install Ubuntu on Your Device
- Step 2: Update Your System
- Step 3: Install OpenSSH Server
- Configuring Your IoT SSH Server
- Step 1: Edit the SSH Configuration File
- Step 2: Set Up SSH Keys
That’s it for now, folks. Stay tuned for more exciting content and remember—technology is only as good as the people using it. Keep learning, keep growing, and keep innovating!


